
Topics in Part 1
- Getting to know JavaFX
- Creating and starting a JavaFX Project
- Using Scene Builder to design the user interface
- Basic application structure using the Model-View-Controller (MVC) pattern
Prerequisites
- Latest Java JDK 8 (includes JavaFX 8).
- Eclipse 4.4 or greater with e(fx)clipse plugin. The easiest way is to download the preconfigured distro from the e(fx)clipse website. As an alternative you can use an update site for your Eclipse installation.
- Scene Builder 8.0 (provided by Gluon because Oracle only ships it in source code form).
Eclipse Configurations
We need to tell Eclipse to use JDK 8 and also where it will find the Scene Builder:
-
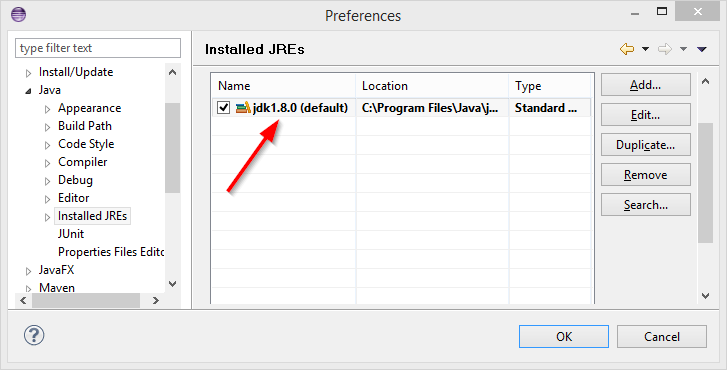
Open the Eclipse Preferences and navigate to Java | Installed JREs.
-
Click Add…, select Standard VM and choose the installation Directory of your JDK 8.
-
Remove the other JREs or JDKs so that the JDK 8 becomes the default.
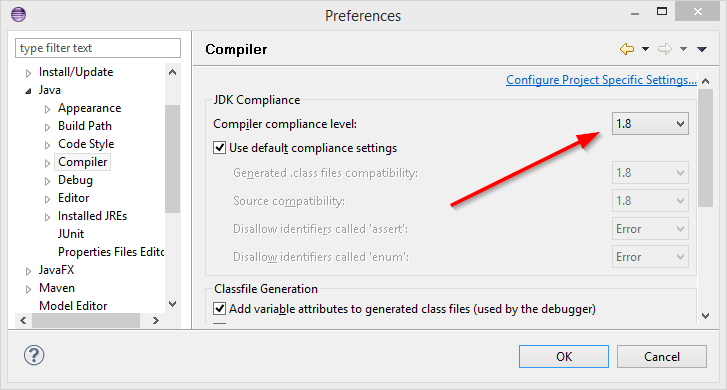
-
Navigate to Java | Compiler. Set the Compiler compliance level to 1.8.
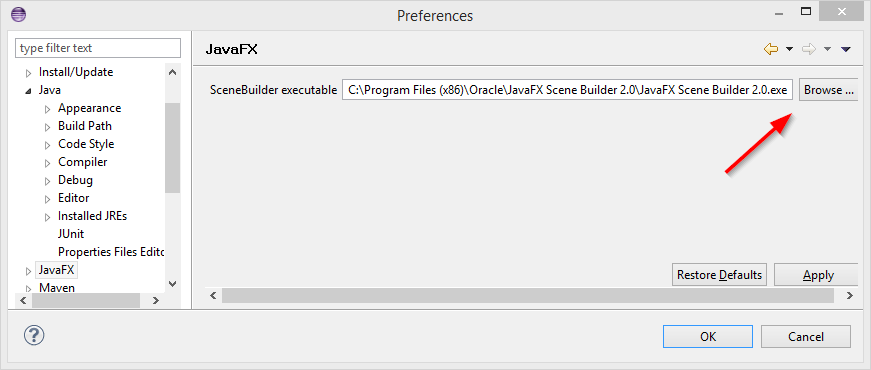
-
Navigate to the JavaFX preferences. Specify the path to your Scene Builder executable.
Helpful Links
You might want to bookmark the following links:
- Java 8 API - JavaDoc for the standard Java classes
- JavaFX 8 API - JavaDoc for JavaFX classes
- ControlsFX API - JavaDoc for the ControlsFX project for additional JavaFX controls
- Oracle’s JavaFX Tutorials - Official JavaFX Tutorials by Oracle
Now, let’s get started!
Create a new JavaFX Project
In Eclipse (with e(fx)clipse installed) go to File | New | Other… and choose JavaFX Project.
Specify the Name of the project (e.g. AddressApp) and click Finish.
Remove the application package and its content if it was automatically created.
Create the Packages
Right from the start we will follow good software design principles. One very important principle is that of Model-View-Controller (MVC). According to this we divide our code into three units and create a package for each (Right-click on the src-folder, New… | Package):
ch.makery.address- contains most controller classes (=business logic)ch.makery.address.model- contains model classesch.makery.address.view- contains views
Note: Our view package will also contain some controllers that are directly related to a single view. Let’s call them view-controllers.
Create the FXML Layout File
There are two ways to create the user interface. Either using an XML file or programming everything in Java. Looking around the internet you will encounter both. We will use XML (ending in .fxml) for most parts. I find it a cleaner way to keep the controller and view separated from each other. Further, we can use the graphical Scene Builder to edit our XML. That means we will not have to directly work with XML.
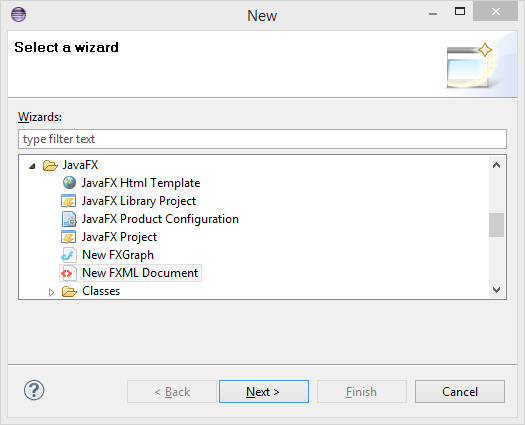
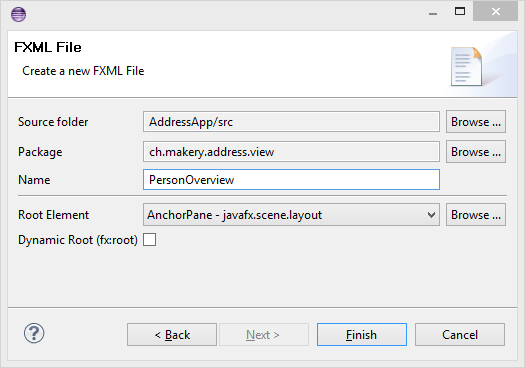
Right-click on the view package and create a new FXML Document called PersonOverview.
Design with Scene Builder
Right-click on PersonOverview.fxml and choose Open with Scene Builder. Now you should see the Scene Builder with just an AncherPane (visible under Hierarchy on the left).
(If Scene Builder does not open, go to Window | Preferences | JavaFX and set the correct path to your Scene Builder installation).
-
Select the Anchor Pane in your Hierarchy and adjust the size under Layout (right side):
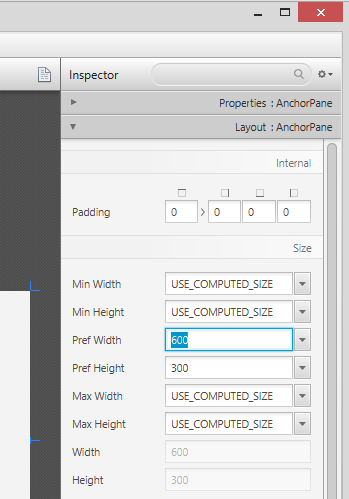
-
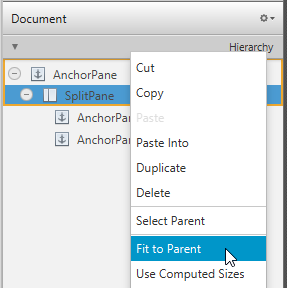
Add a Split Pane (Horizontal Flow) by dragging it from the Library into the main area. Right-click the Split Pane in the Hierarchy view and select Fit to Parent.
-
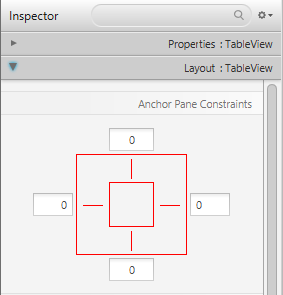
Drag a TableView (under Controls) into the left side of the SplitPane. Select the TableView (not a Column) and set the following layout constraints to the TableView. Inside an AnchorPane you can always set anchors to the four borders (more information on Layouts).
-
Go to the menu Preview | Show Preview in Window to see, whether it behaves right. Try resizing the window. The TableView should resize together with the window as it is anchored to the borders.
-
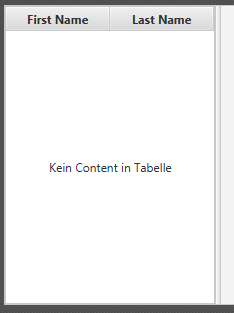
Change the column text (under Properties) to “First Name” and “Last Name”.
-
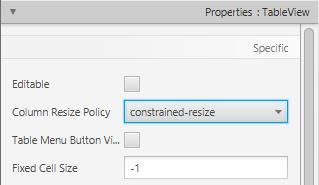
Select the TableView and choose constrained-resize for the Column Resize Policy (under Properties). This ensures that the colums will always take up all available space.
-
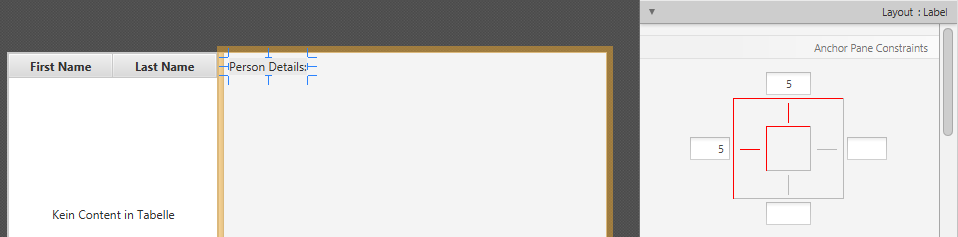
Add a Label on the right side with the text “Person Details” (hint: use the search to find the Label). Adjust it’s layout using anchors.
-
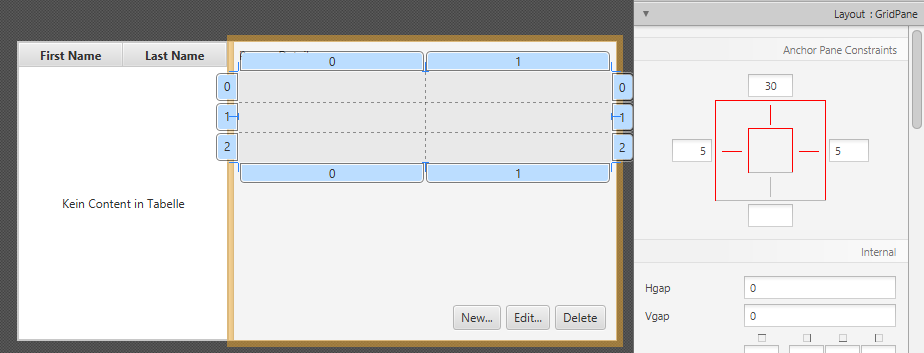
Add a GridPane on the right side, select it and adjust its layout using anchors (top, right and left).
-
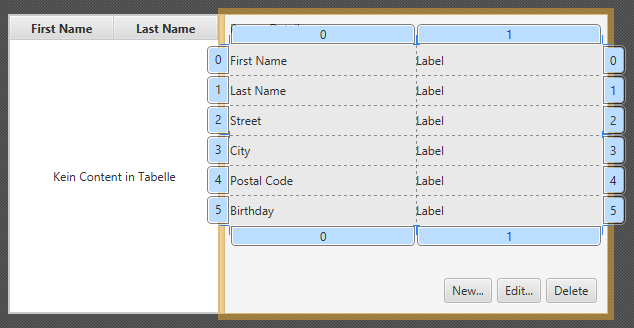
Add the following labels to the cells.
Note: To add a row to the GridPane select an existing row number (will turn yellow), right-click the row number and choose “Add Row”.
-
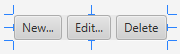
Add a ButtonBar at the bottom. Add three buttons to the bar. Now, set anchors (right and bottom) to the ButtonBar so it stays in the right place.
-
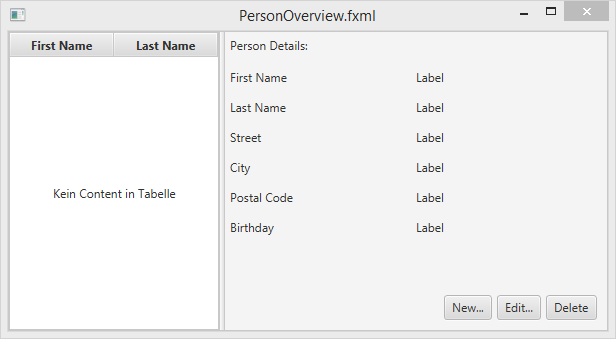
Now you should see something like the following. Use the Preview menu to test its resizing behaviour.
Create the Main Application
We need another FXML for our root layout which will contain a menu bar and wraps the just created PersonOverview.fxml.
-
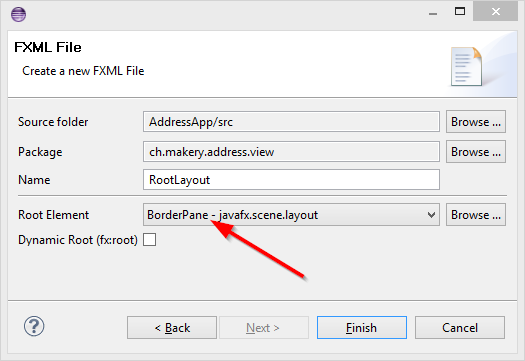
Create another FXML Document inside the view package called
RootLayout.fxml. This time, choose BorderPane as the root element.
-
Open the
RootLayout.fxmlin Scene Builder. -
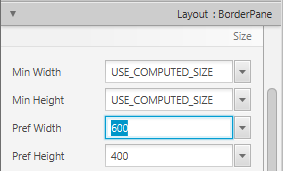
Resize the BorderPane with Pref Width set to 600 and Pref Height set to 400.
-
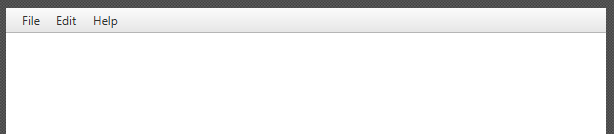
Add a MenuBar into the TOP Slot. We will not implement the menu functionality at the moment.
The JavaFX Main Class
Now, we need to create the main java class that starts up our application with the RootLayout.fxml and adds the PersonOverview.fxml in the center.
-
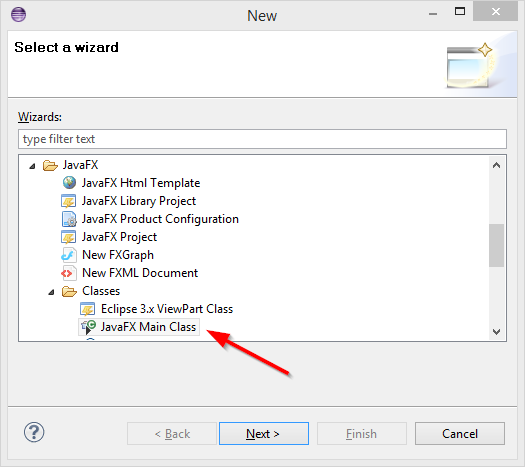
Right-click on your project and choose New | Other… and choose JavaFX Main Class.
-
We’ll call the class
MainAppand put it in the controller packagech.makery.address(note: this is the parent package of theviewandmodelsubpackages).

The generated MainApp.java class extends from Application and contains two methods. This is the basic structure that we need to start a JavaFX Application. The most important part for us is the start(Stage primaryStage) method. It is automatically called when the application is launched from within the main method.
As you see, the start(...) method receives a Stage as parameter. The following graphic illustrates the structure of every JavaFX application:
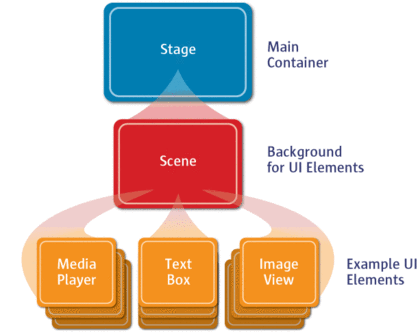
Image Source: http://www.oracle.com
It’s like a theater play: The Stage is the main container which is usually a Window with a border and the typical minimize, maximize and close buttons. Inside the Stage you add a Scene which can, of course, be switched out by another Scene. Inside the Scene the actual JavaFX nodes like AnchorPane, TextBox, etc. are added.
For more information on this turn to Working with the JavaFX Scene Graph.
Open MainApp.java and replace the code with the following:
package ch.makery.address;

import java.io.IOException;

import javafx.application.Application;
import javafx.fxml.FXMLLoader;
import javafx.scene.Scene;
import javafx.scene.layout.AnchorPane;
import javafx.scene.layout.BorderPane;
import javafx.stage.Stage;

public class MainApp extends Application {

    private Stage primaryStage;
    private BorderPane rootLayout;

    @Override
    public void start(Stage primaryStage) {
        this.primaryStage = primaryStage;
        this.primaryStage.setTitle("AddressApp");

        initRootLayout();

        showPersonOverview();
    }

    /**
     * Initializes the root layout.
     */
    public void initRootLayout() {
        try {
            // Load root layout from fxml file.
            FXMLLoader loader = new FXMLLoader();
            loader.setLocation(MainApp.class.getResource("view/RootLayout.fxml"));
            rootLayout = (BorderPane) loader.load();

            // Show the scene containing the root layout.
            Scene scene = new Scene(rootLayout);
            primaryStage.setScene(scene);
            primaryStage.show();
        } catch (IOException e) {
            e.printStackTrace();
        }
    }

    /**
     * Shows the person overview inside the root layout.
     */
    public void showPersonOverview() {
        try {
            // Load person overview.
            FXMLLoader loader = new FXMLLoader();
            loader.setLocation(MainApp.class.getResource("view/PersonOverview.fxml"));
            AnchorPane personOverview = (AnchorPane) loader.load();

            // Set person overview into the center of root layout.
            rootLayout.setCenter(personOverview);
        } catch (IOException e) {
            e.printStackTrace();
        }
    }

	/**
	 * Returns the main stage.
	 * @return
	 */
	public Stage getPrimaryStage() {
		return primaryStage;
	}

    public static void main(String[] args) {
        launch(args);
    }
}
The various comments should give you some hints about what’s going on.
If you run the application now, you should see something like the screenshot at the beginning of this post.
Frequent Problems
If JavaFX can’t find the fxml file you specified, you might get the following error message:
java.lang.IllegalStateException: Location is not set.
To solve this issue double check if you didn’t misspell the name of your fxml files!
What’s Next?
In Tutorial Part 2 we will add some data and functionality to our AddressApp.